
If you remember, when in New York (… come back!!! this is not a post about my holidays!!…) I attended a lovely workshop by the gorgeous Rose Pearlman…
Punch needle for those who don’t know it is a technique that allows you to loop yarn, ribbons or strips of fabric through a fabric base in whichever pattern you wish and it’s used to make sturdy rugs or wall hangings or delicate pictures, depending on the thickness of the needles/yarns etc. Also, to make it slightly more complicated there are various techniques to achieve these… in fact the more traditional way, better known as ‘rug hooking’ is worked from the front of the piece, whilst punch needle is worked from the back…. but both methods produce loops and both sides are gorgeous and deciding which one ones you like best is kind of tricky. Or maybe it’s just me.
Rose taught us using an Oxford punch needle and you can find them here.
My first experiment… was just that… an experiment. What I loved about Rose’s workshop is that after teaching us the technique , and telling us all about the material and tools etc., she just left us to our own devices and gave us the freedom to try our own designs and our own styles. I’m not keen on those workshops where you end up making clones of the teachers’ work.
Anyway, my first piece was totally too ambitious. The photo is terrible because windowless hotel rooms and phones are not the best thing to use… I like the way the bowl turned out although the stitches are too short and lumpy, but the ‘fruit’ just looks plain weird and anyway I was totally bored so it got frogged.
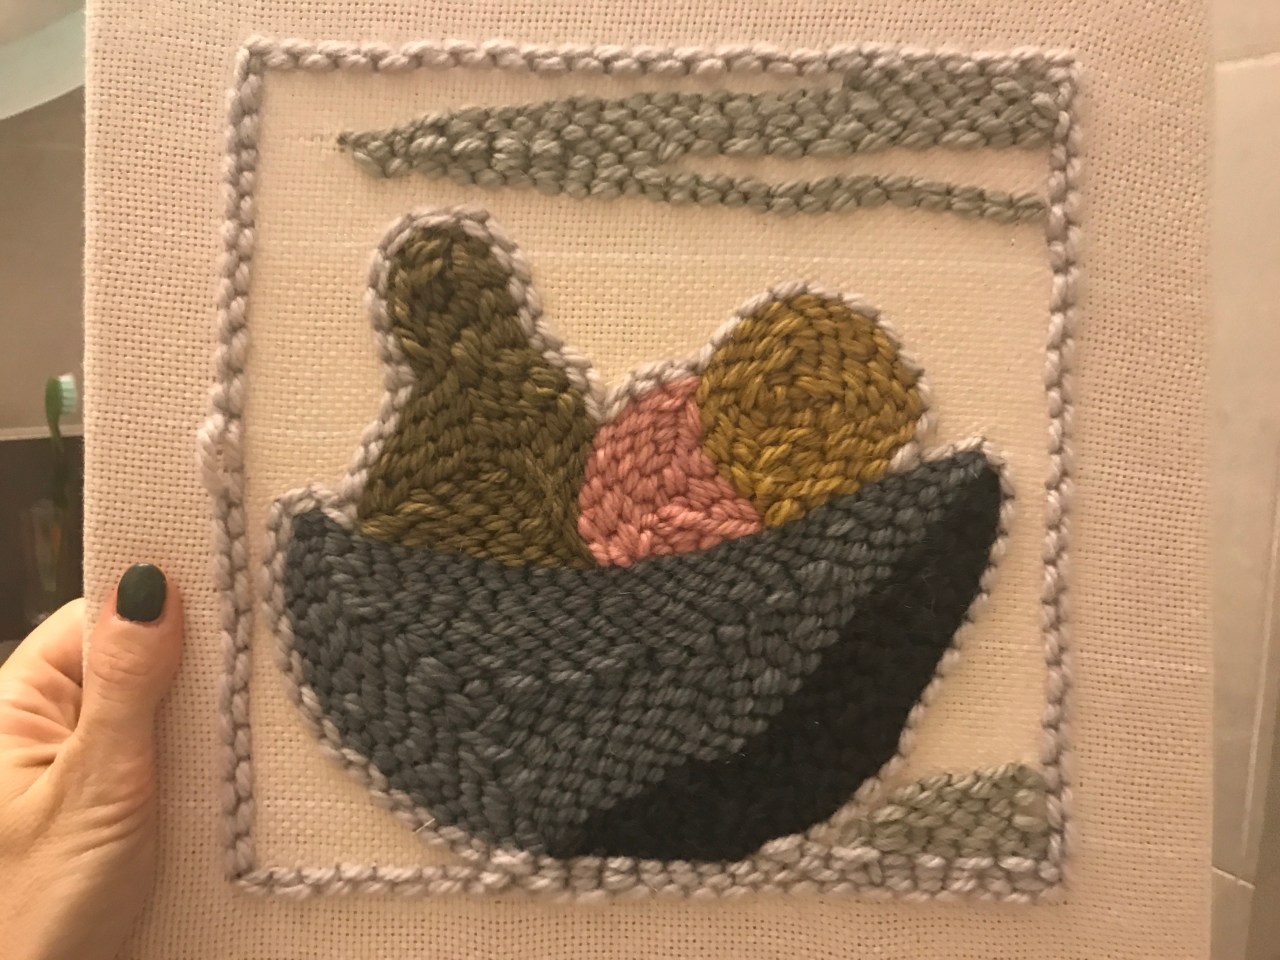
… moving on swiftly…
The beauty of punch needle is that you can rip it our many times and nobody is any wiser at the end. Genius.
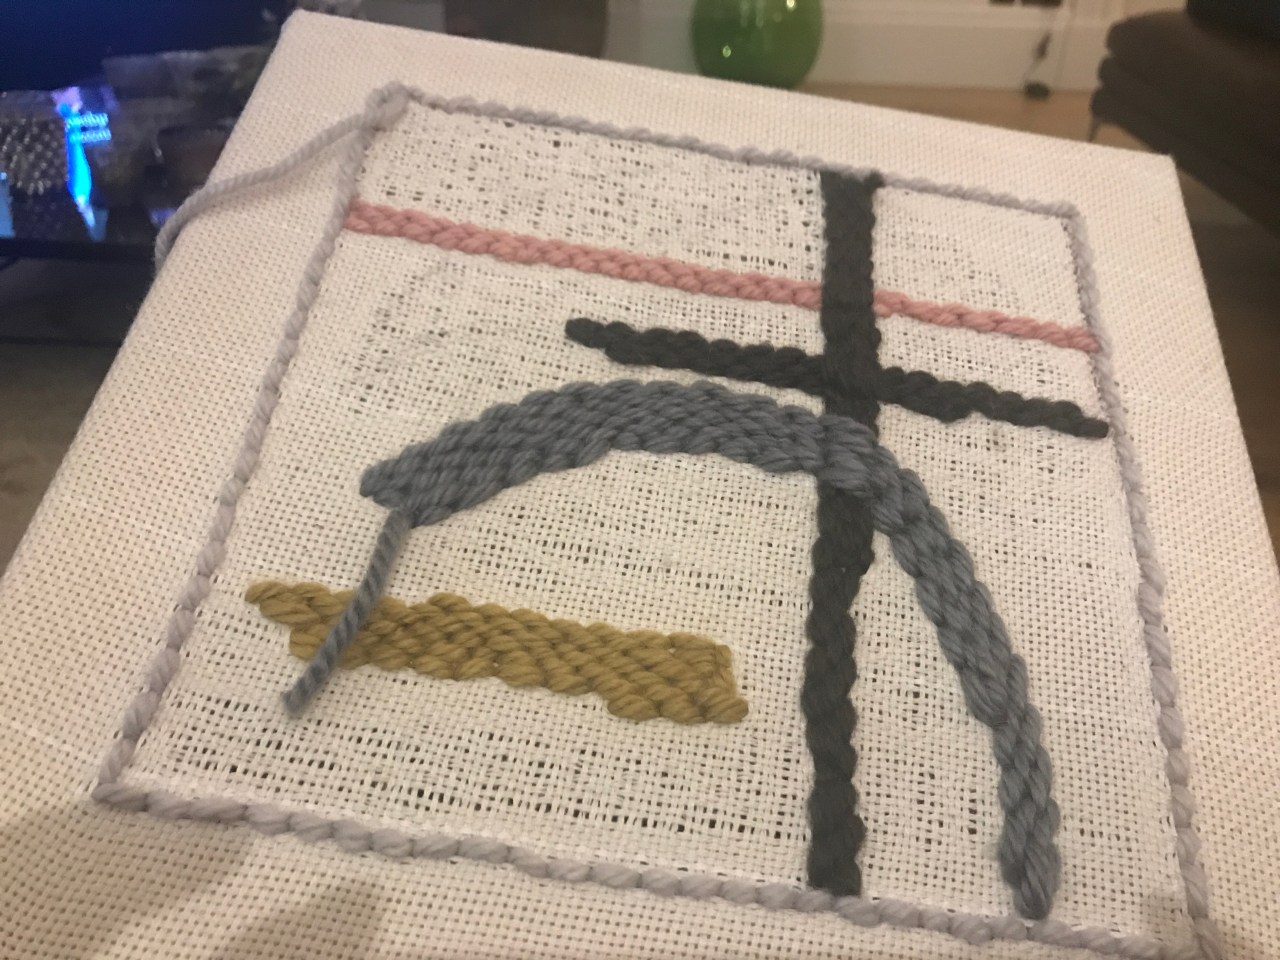
For the second attempt I decided to focus more on the technique itself. I wanted to get my stitches longer and more regular. I loved the blue arch in this version but not the long cross so I had to rip both off and then forgot about the arch…
doh.
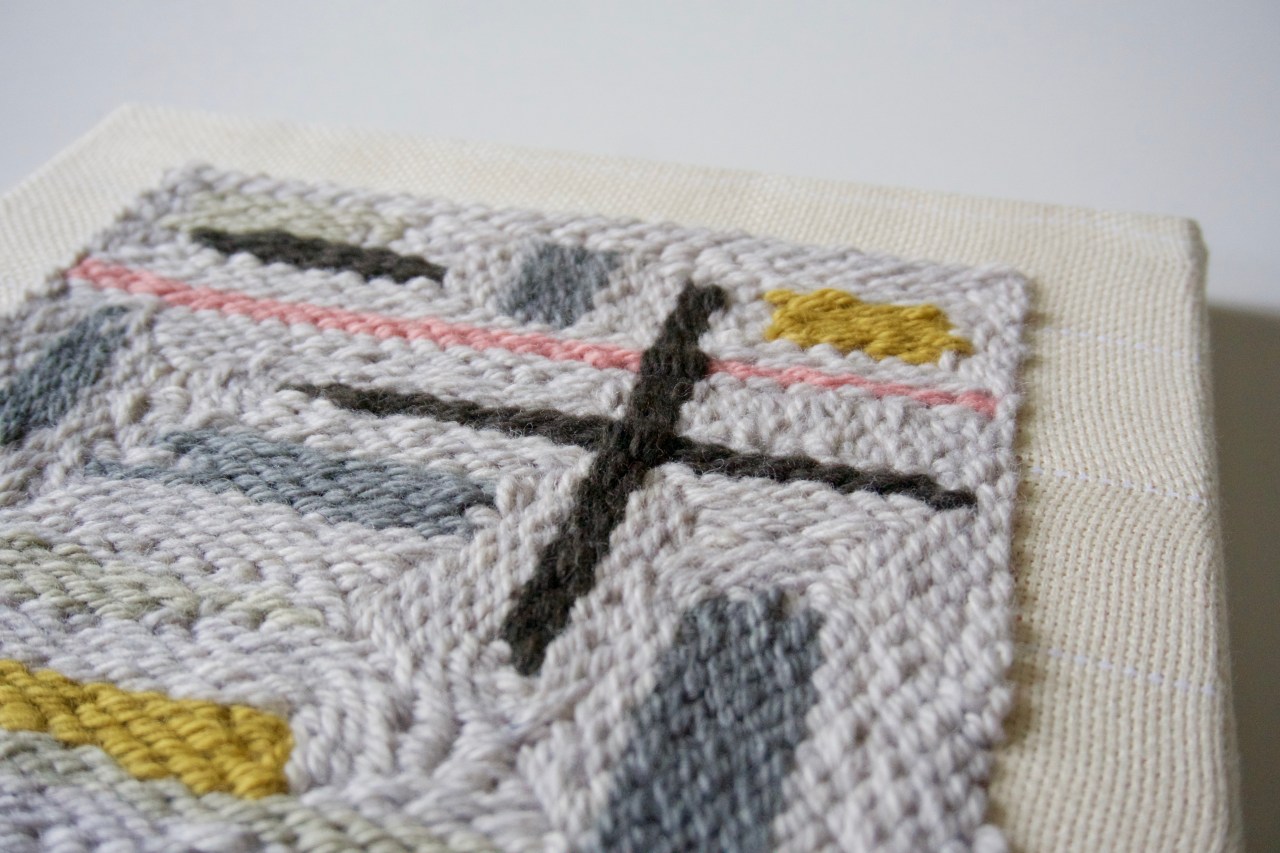
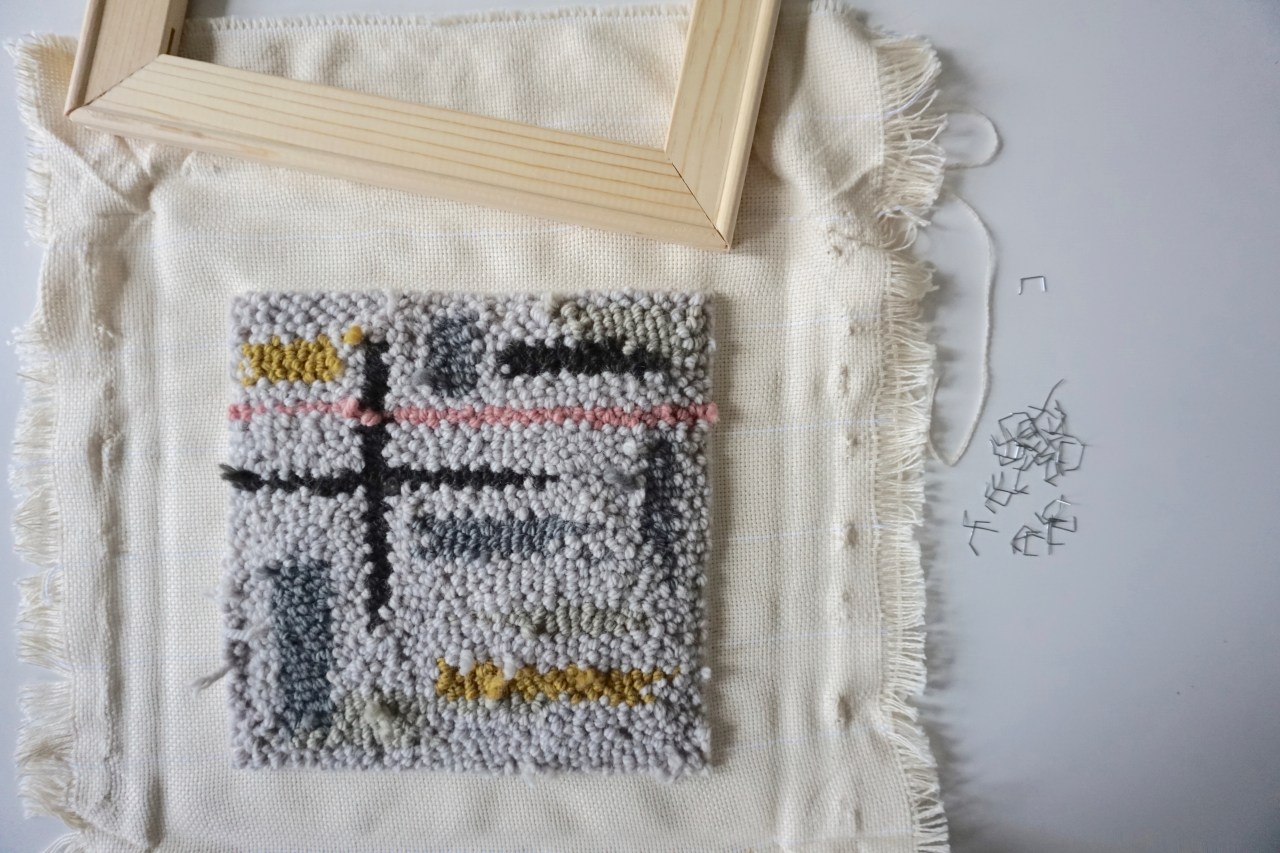
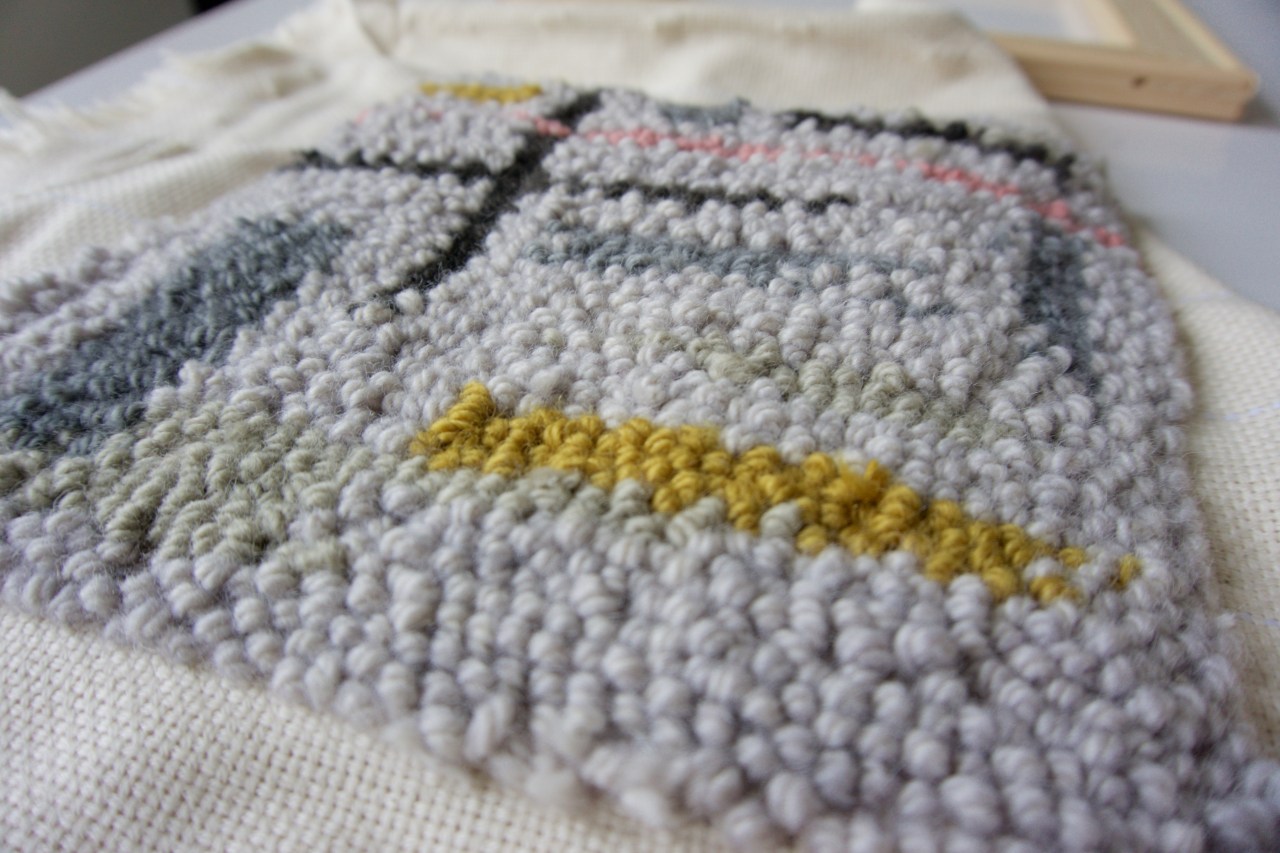
And this is the third attempt. I made, MADE, myself finish it and it’s FAR from perfect. I’m keeping it as a ‘learning curve’. the composition in itself is ok but now looking back I don’t like how I staggered the stitches.
This is actually ‘the back’, which I think is the more modern side of each piece….

and this is the ‘front’ when still stapled to the frame, just in case you’re curious.
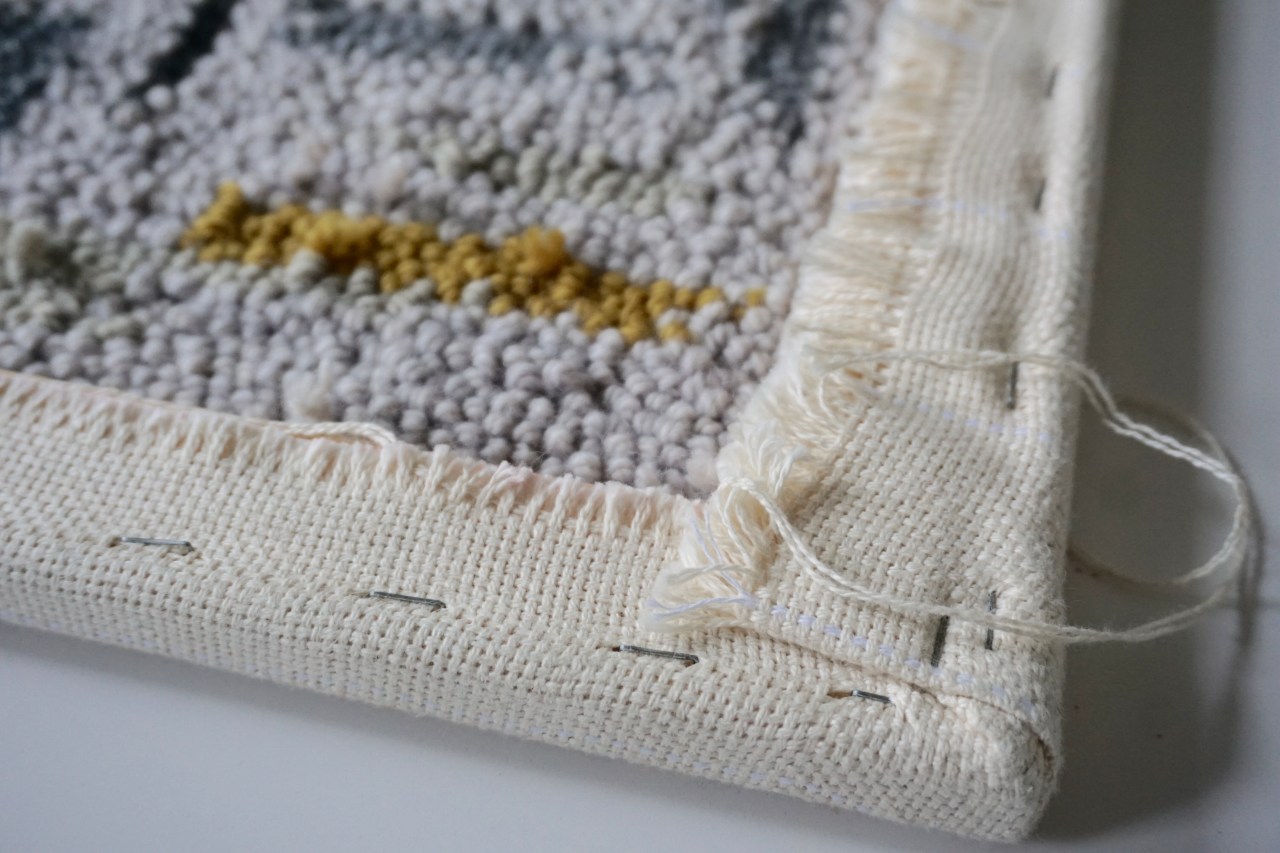
and you know what? I think I prefer it.
especially when it’s all cleaned up and neat.
Again: though it might be kept as the front (actually the back)
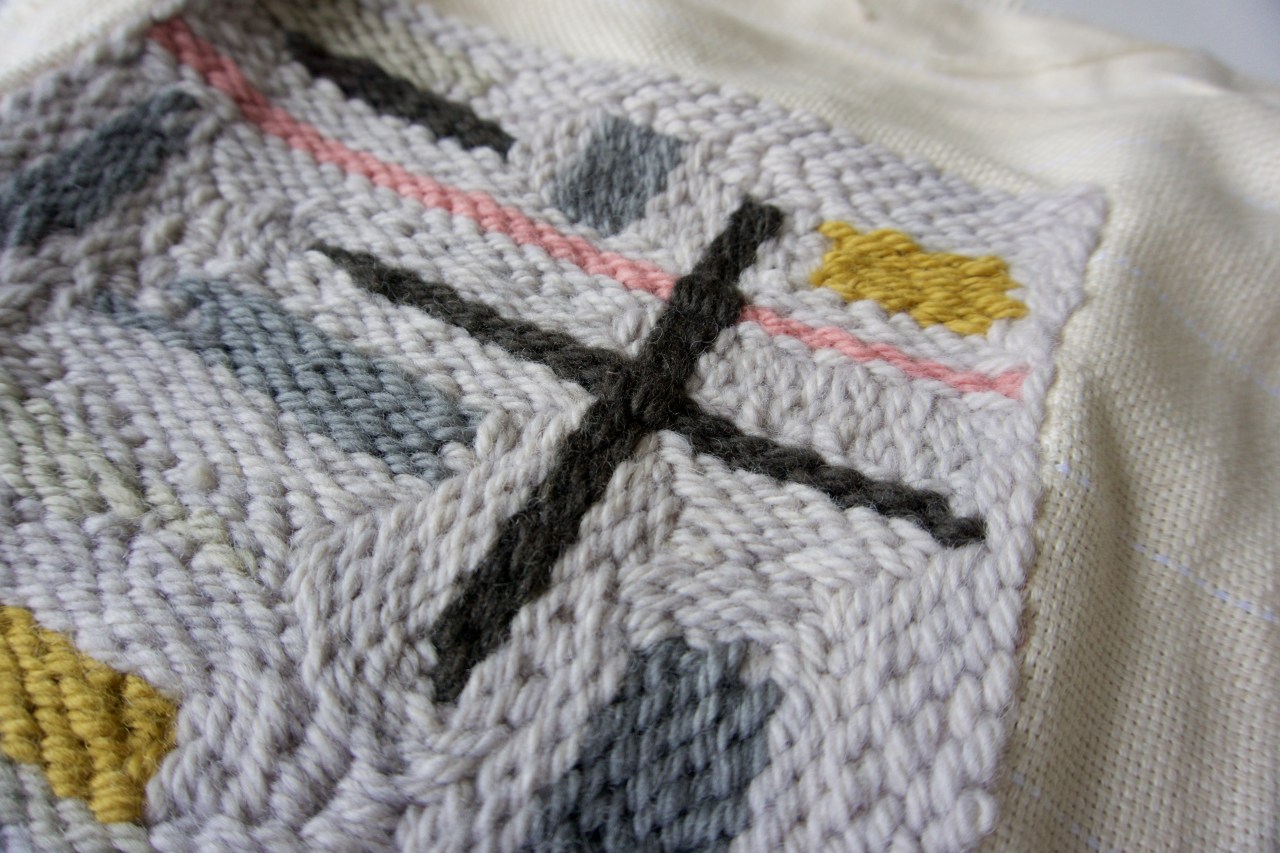
… versus back which is the real front and will be kept as such on this occasion.
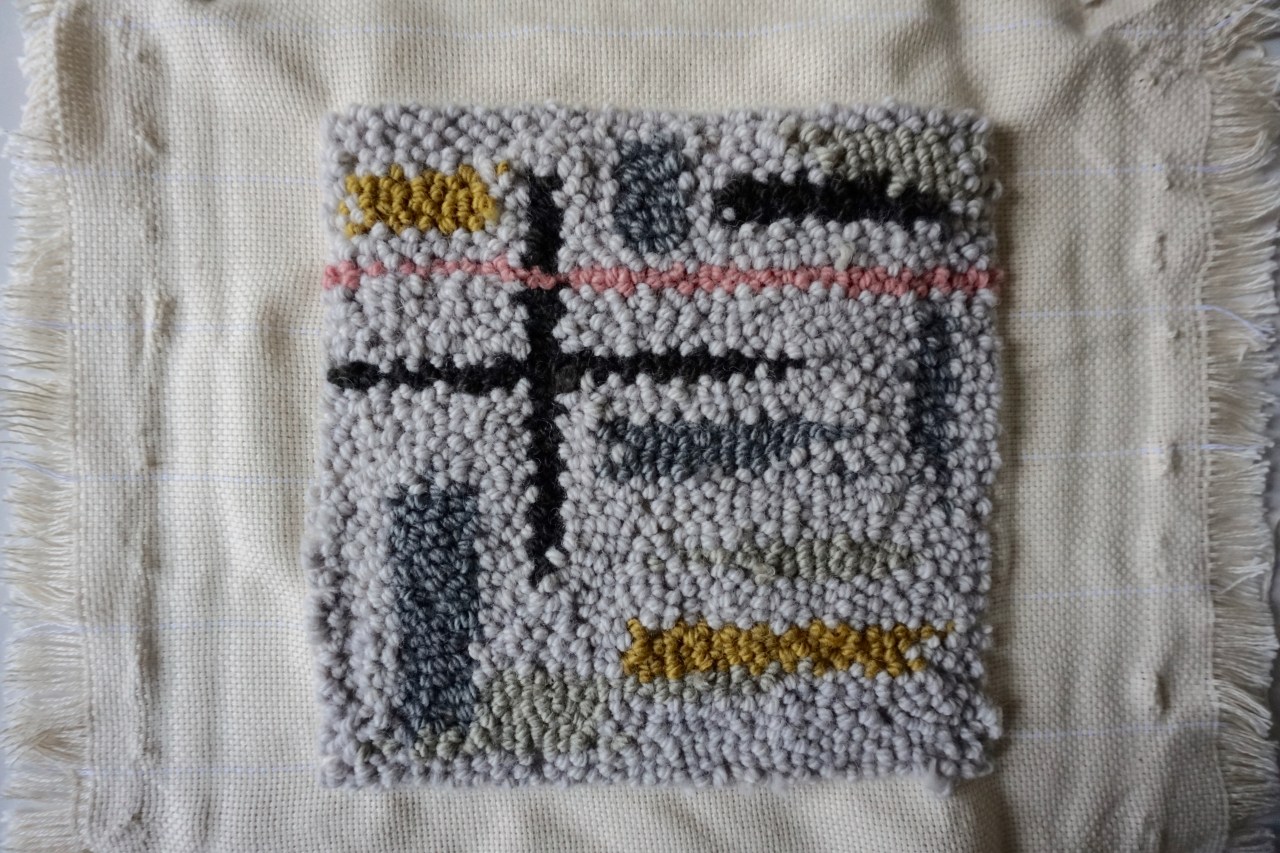
Loopy side it is, then.
Don’t ask me what I’ll do with it… it’s too early for that.

Gorgeous–such beautiful colors and composition! And I love the way it feels both really cozy and really modern at the same time. K xx
LikeLike
My mother used to do this. Our home had scattered rugs all around…ahem, think magenta roses on teal backgrounds and rainbow unicorns on purple background. Yikes!
However it is always nice to see older crafts revisited…and your modern, fresh design is beautiful. Well, done you.
LikeLike